
Article written by Stealth Cam contributor, Josh Honeycutt.
Early in my trail camera journey, I posted cameras to take inventory, and that was it. I didn’t fully utilize these tools. I didn’t get the most from their capabilities and potential.
Eventually, I realized these tools weren’t just inventory takers. Additionally, they served as excellent deer patterning tools, too. Therefore, I started placing these in more strategic locations.

Years of using cameras like this passed by. Then, another epiphany. By placing cameras in strategic locations, and in layers, I stepped up trail camera usage once again.
This idea was born from a hunting tactic I use. I use a fairly specific hunting approach. Generally, I hunt properties in layers, starting with the lowest impact. Then, with time, I gradually move deeper into the property, almost as if hunting in layers. Today, I do the same with trail cameras.
Sometimes trail camera placements deploy gradually, and deeper over time. Other times, they deploy to most or all layers at once. Specific situations influence this.
Study Your Hunting Property
This trail camera layering method requires studying a property in person and via apps or maps. When doing so, designate the entire farm with one of three classifications, including layer one (or A), two (or B), or three (or C). Layer one includes low-impact areas, layer two highlights mid-impact areas, and layer three showcases high-impact areas. Those who are as OCD as me, might even provide a color coding system. Personally, I like green for low-impact, yellow for mid-impact, and red for high-impact areas.
Layer One (Or Layer A): Low-Impact Areas
Layer one areas are low-impact locations. Meaning, these are areas hunters can get in and out of with minimal human intrusion and applied pressure on the deer herd. Hunters can easily get in and out of the field to post cams, change batteries, pull cards, and complete other trail camera tasks, without alerting deer to their presence.
In layer one locations, deer pay less attention to ground scent. They might detect it, but seem to react less, because it’s well away from their bedding areas.
Generally, this consists of destination food sources. Examples include edges of large ag fields, oak flats well away from bedding areas, food plots further from bedding, etc. Typically, these are large food sources or areas deer don’t spend the middle two-thirds of daytime hours.

Of course, just because it’s the edge of an ag field, or a destination food source, doesn’t automatically make it a low-impact, layer one location. For example, perhaps it’s bordered by a small strip of cover deer are bedding in, and they can see the field from their beds. Or, maybe the bedding area is a ridgeline directly above the field, and deer can see people come and go in the field from where they are bedded on the hillside ridge. There are many examples of how a spot might seem to be a layer one, but it’s actually a layer two or three. Keep this in mind when analyzing the property.
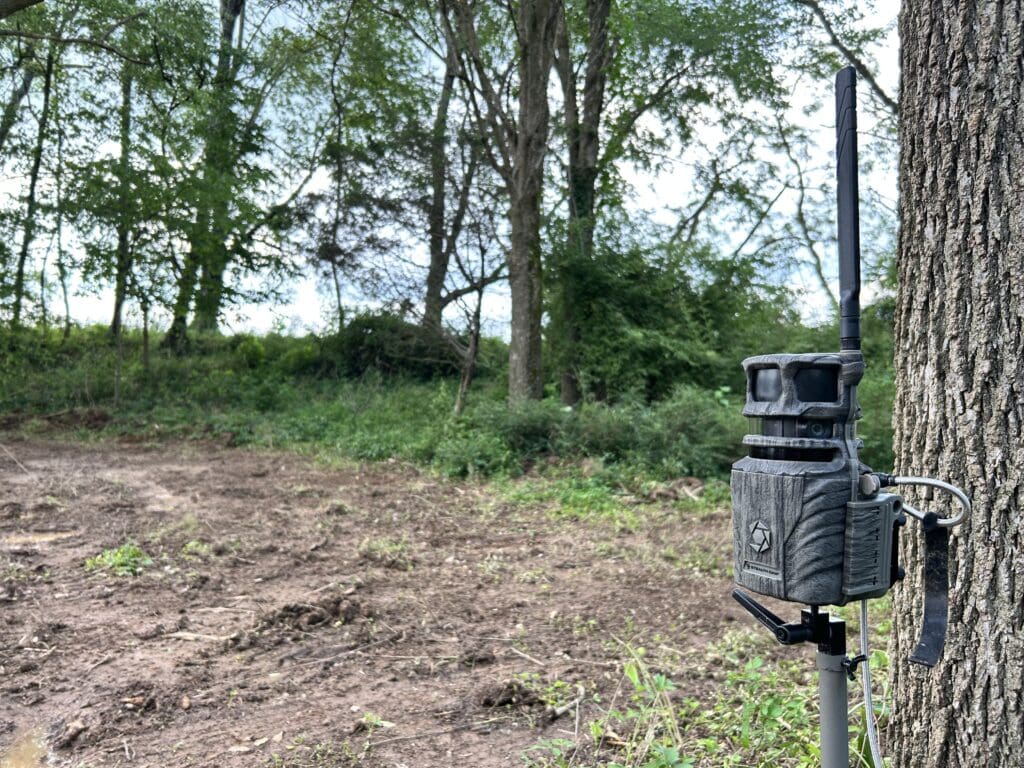
SD or Cell Cams: Here, cell cameras are best. That said, traditional SD cameras can still work. (Although you lose the real-time intel element.)
Camera Layer Benefits: This layer is excellent for taking inventory of the herd. It captures photos of most or all of the deer using the local destination food sources. Also, it tells you which destination food sources are being used, and not used.
Layer Two (Or Layer B): Mid-Impact Areas
Layer two areas are mid-impact areas. This means that they aren’t likely to pressure deer, but could. These require more human intrusion, and place people closer to daytime deer bedding areas, than layer one locations. Generally, hunters can get into these spots to conduct trail camera tasks, but risks of alerting deer are higher.
Furthermore, ground scent left behind tends to have more impact on deer here than in layer one locations. This is because these locations are closer to bedding, and the closer you get to bedding, the more likely deer are to negatively react to human intrusion.
Oftentimes, layer two locations are best described as staging areas and travel routes between daytime bedding areas and destination food sources. Think of these as areas that see the bulk of dawn and dusk deer movement. Such spots might be trails leading out of the bedding area; brushy areas with thick early successional habitat between bedding and destination feed; and more.

As with layer one areas, ensure deer can’t see, hear, or smell you from projected layer two locations. If they can, it automatically becomes a layer three area. Be careful, and make designation decisions appropriately.
SD or Cell Cams: Generally, cell cams are best for layer two locations. This provides the real-time intel of which staging areas and lines of movement are being used. Furthermore, it helps decide which stands to hunt, wait on, or let rest.
Camera Layer Benefits: This layer is great for pinpointing potential stand locations where bucks are daylighting at. Here, you can oftentimes get in without spooking deer, and still have a decent chance of seeing it move during daylight hours.
Layer Three (Or Layer C): High-Impact Areas
Layer three areas are high-impact areas. These are the fringes of bedding areas, and anywhere a deer can see, hear, or smell from its daytime bedding area. In short, there’s no way to get in and hang cameras, let alone conduct other trail camera tasks, without alerting deer to your presence. Direct, first-hand spooking occurs.
Additionally, ground scent left behind can have a major impact. Deer are less likely to tolerate human intrusion closer to and within bedding areas.

Generally, most trail camera users should not place trail cameras in layer three. This is reserved for certain situations, and those who can stick to a finely defined plan of action, and not deviate from it.
SD or Cell Cams: SD or cell cams can be used in layer three settings. However, if running SD cams, post these while shed hunting and post-season scouting in late winter. Let them run unchecked until the next off-season. Benefit only from the historical data. (Do not check these at any point, especially in or close to deer season.) Cell cams are better, and again, should be posted in late winter or early spring. That said, these must be paired with an external battery source that allows it to run 12 months (or at least through deer season) without battery depletion.
Camera Layer Benefits: This helps you determine what deer are bedding in a given bedding area. It can even determine what bedding area a deer is in on a given day. Plus, it might even help determine what destination food sources and staging areas you will hunt (based on what bedding area a deer is in).
Running Cams in Unison
By using trail cameras in all three layers, this helps you determine surefire lines of movement. When deer hit cameras in multiple layers within the same day, or especially within a few hours (or less), you learn a lot about the specific routes it takes from point A to B. Therefore, running cams in unison helps establish better understanding of patterns and produces more viable hunt plans.
You have plenty of photos to know what deer are on the property. You have plenty of intel to recognize buck patterns. Now, establish the game plan. Work hard, and you just might fill your tag on a big whitetail buck — all thanks to the trail camera location layer mentality.

Shop Stealth Cam
Check out the latest in cellular trail camera technology and take advantage of special offers.